If you’ve ever glanced at your iPhone and seen the dreaded “SOS Only” message, you know the sinking feeling that comes with it. But fear not, fellow iPhone user, for we are here to unravel the enigma and provide you with simple solutions. Let’s dive into the world of iPhone signals and discover SOS Only on iPhone How To Fix it in a few easy steps.
Table of Contents
Why Does “SOS Only” Appear on Your iPhone?
“SOS Only” means your iPhone is disconnected from the cellular network, leaving you with only the ability to make emergency calls. This situation arises when you find yourself outside your carrier’s coverage area, resulting in a temporary loss of normal calling, texting, or internet access. Now, let’s explore the remedy for this digital hiccup.
SOS Only on iPhone How To Fix It Step-By-Step
Check Your Coverage Area
The first step is straightforward – make sure you’re in an area with cellular network coverage. Sometimes, we overlook the basics. Toggle your cellular data off and then back on to refresh the connection.
Turn Cellular Data Off and On Again
In the Settings menu, head to Cellular or Mobile Data, toggle the cellular data off, wait a moment, and toggle it back on. This simple action can kickstart your iPhone’s connection.
Reset Your Network Settings
- Open “Settings” on your device.
- Navigate to “General” in the settings menu.
- Look for “Transfer or Reset [Device]” in the General settings.
- Select “Reset” from the options available.
- Choose “Reset Network Settings” from the reset options.
This step resets your network configurations, potentially solving the “SOS Only” dilemma.
Keep Your iPhone Updated.
Ensure your iPhone is running the latest iOS or iPadOS version. Updates often include bug fixes and improvements that might resolve connectivity issues.
Contact Your Carrier
Reach out to your carrier to confirm that your account is active and in good standing. Sometimes, issues with the carrier or account can impact your service.
Remove and Reinsert the SIM Card
If the previous steps falter, try the classic move of removing and reinserting your SIM card. It’s a small action that can yield significant results.
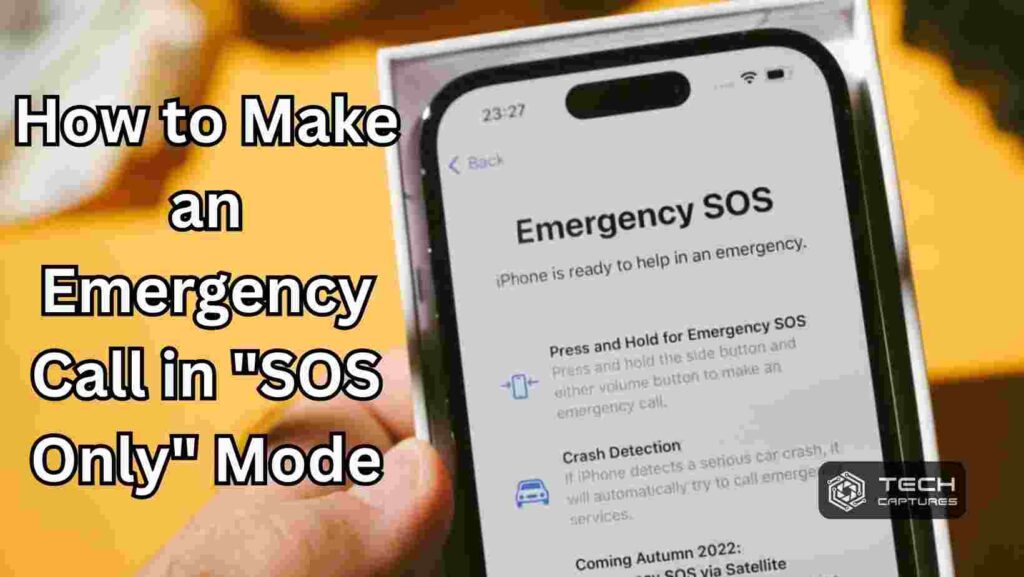
How to Make an Emergency Call in “SOS Only” Mode

SOS Only on iPhone How To Fix! After knowing this, let’s get to another topic: making emergency calls in SOS Only Mode. Even when stranded in “SOS Only” mode, your iPhone allows you to make emergency calls. Here’s how:
- Press and hold the side button and one volume button until the Emergency SOS slider appears.
- Drag the slider to call emergency services.
Remember, this feature is reserved for emergencies only, and regular calls, texts, or internet access remain unavailable in “SOS Only” mode.
What Happens During an Emergency Call?
When you make an emergency call, your iPhone automatically dials the local emergency number and shares your location information with emergency services. After the call ends, your iPhone notifies emergency contacts with a text message and continues to update them on your location changes for a period afterward.
Can You Make Regular Calls in “SOS Only” Mode?
No, in “SOS Only” mode, your iPhone restricts you to emergency calls only. Regular calls, messages, and internet access are off the table during this time. This intentional limitation ensures you can always reach out for help, even in areas with compromised cellular connectivity.
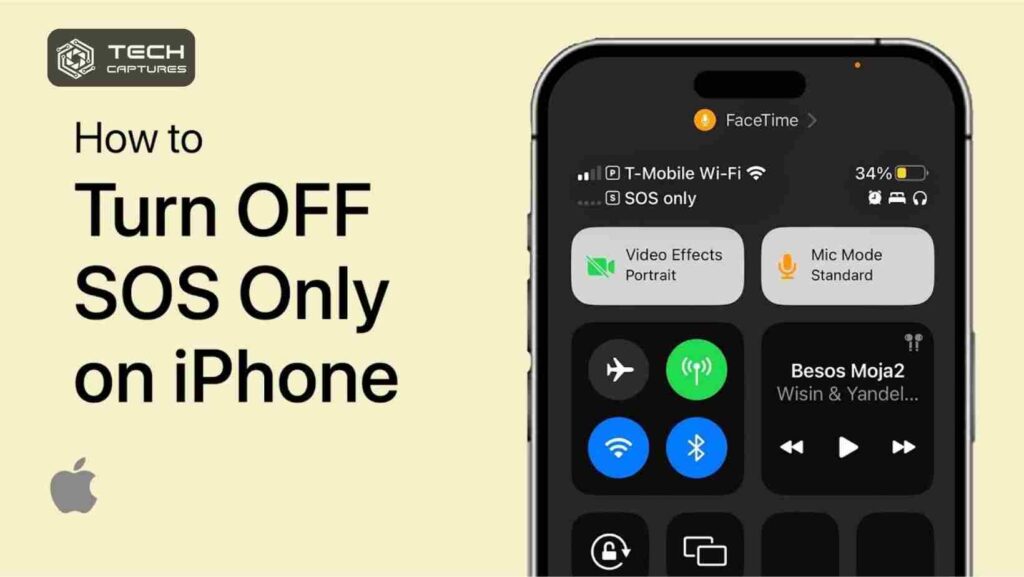
Turning Off “SOS Only” Mode on Your iPhone

To bid farewell to the “SOS Only” mode, follow these steps:
Check Your Coverage Area Again:
- Make sure you are located in an area where there is sufficient cellular network coverage.
- Toggle cellular data off and on.
Reset Your Network Settings:
- Open the “Settings” app on your device.
- Navigate to “General” in the settings menu.
- Select “Reset” from the General menu.
- Choose “Reset Network Settings” from the available reset options.
Update Your iPhone:
- Confirm your iPhone is running the latest iOS or iPadOS version.
Contact Your Carrier:
- Verify that your carrier account is active and in good standing.
Remove and Reinsert the SIM Card:
- If all else fails, try the SIM card dance once more.
Restore Your iPhone with iTunes or Finder:
As a last resort, restore your iPhone. Ensure to create a backup of your data prior to performing this action.
If the “SOS Only” persists, reach out to your carrier or Apple Support for personalized assistance.
What triggers an iPhone to switch to “SOS Only” mode?
Your iPhone may switch to “SOS Only” mode due to factors like weak signals, carrier issues, SIM card glitches, iOS bugs, or other unexplainable quirks. Understanding these potential causes empowers you to troubleshoot effectively.
How to Check If Your iPhone Is in “SOS Only” Mode
Two quick checks can confirm if your iPhone is in “SOS Only” mode:
Look for the “SOS Only” Text:
- If your iPhone displays “SOS Only” in the status bar or carrier field, you’re in emergency mode.
Check the Emergency Call Slider:
Go to Settings > Emergency SOS and see if the Emergency Call slider is enabled. If so, you are currently in “SOS Only” mode.
Spotting these signs prompts you to take corrective action and restore regular connectivity.
In Conclusion
SOS Only on iPhone How To Fix on your iPhone can be a breeze with these comprehensive solutions. Remember, simplicity is key – from checking your coverage area to making emergency calls, you now hold the tools to conquer the mysterious “SOS Only” mode. Next time your iPhone cries for help, you’ll be the savvy user who knows just what to do.

