How to Snip on Mac? Ever been in a situation where you wanted to capture something on your Mac’s screen? Maybe it’s a high score on a game, a bug you want to report, or a snippet of a webinar. Whatever your reason, knowing how to snip on your Mac is essential. In this article, we’ll explore the various methods to take screenshots and make screen recordings, ensuring that you’re equipped to capture anything on your screen at a moment’s notice.
Table of Contents
Easy Steps to Capture Your Entire Mac Screen
Ever wondered how to quickly take a snapshot of everything on your Mac’s display? It’s as easy as hitting a few keys. Here’s how:
- The Magic Shortcut: Press Shift + Command + 3.
- After pressing these keys, your Mac captures an image of your entire screen. By default, this image is automatically saved to your desktop. If you notice a thumbnail pop up on your screen, you can click it to edit the screenshot or do nothing, and it will save by itself.
How to Snip a Section of Your Screen on Mac

Sometimes, you don’t need an image of your entire screen, just a part of it. Certainly! Here are the steps to accomplish that task:
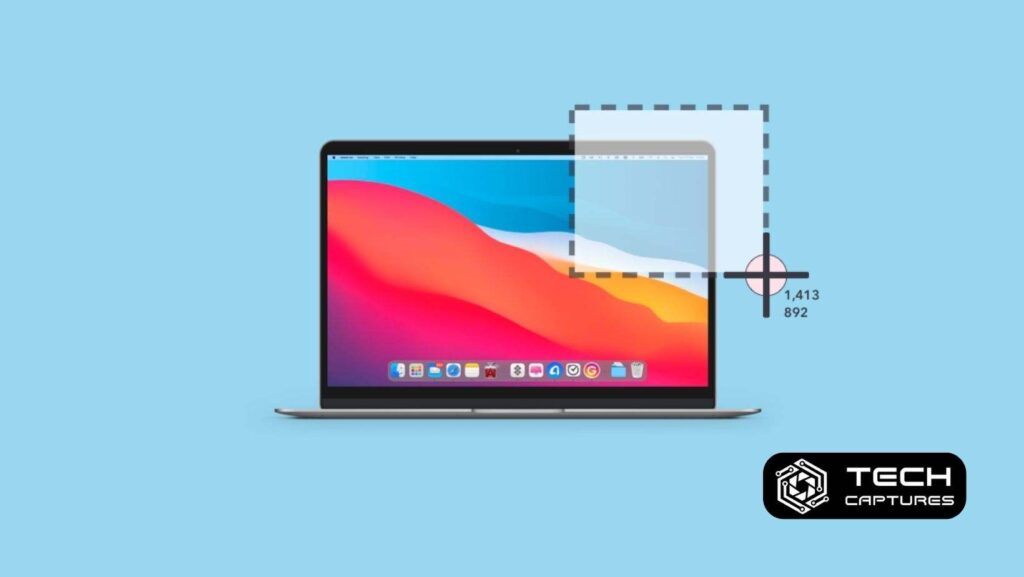
- Selective Snipping Shortcut: Hit Shift + Command + 4.
- Once you press these keys, your cursor turns into a crosshair. Click and drag to select the part of the screen you wish to capture. If you need to reposition your selection, hold the Space bar while dragging. To back out without taking a screenshot, tap the Esc key. Let go of the mouse or trackpad button to snap your screenshot.
How to Capture a Mac Window or Menu Specifically
Targeting a specific window or menu for your screenshot is also possible. Follow these steps to do it like a pro:
- Window and Menu Capture Shortcut: Use Shift + Command + 4, then hit the Space bar.
- Your cursor will change to a camera icon. Just click on the window or menu you wish to capture. If you’d prefer to capture it without the shadow, hold down the Option key while you click. Press Esc if you decide not to take the screenshot.
Mastering Screen Recordings on Your Mac
Capturing a video of your screen activity can be just as useful as taking a still screenshot. Let’s dive into how you can record your screen:
- Recording Shortcut: Press Shift + Command + 5.
This shortcut unveils the Screenshot toolbar, which isn’t just for static images. You have the option to either capture your entire screen or just a specific portion of it. Once you’ve made your selection, click Record to start. When you’re done, click the Stop button in the menu bar.
Enhancing Your Snipping Experience
While Mac’s built-in tools are great, there’s more to discover for an enhanced experience:
- Where Do Screenshots Go?: By default, screenshots land on your desktop. But from macOS Mojave onwards, you can switch up the save location via the Options menu in the Screenshot app.
- Quick Clipboard Tricks: Want to send a screenshot straight to your clipboard? Hold down the Control key while you take it.
- For Touch Bar Fans: If you’re using a MacBook Pro with a Touch Bar, you can add a Screenshot button to it for easy access.
Beyond the Basics: Third-Party Tools for Snipping on Mac
Looking for more snipping power? Several third-party tools like Monosnap, TinyTake, and Lightshot offer more features like advanced editing and cloud storage options.
Remember, certain apps may limit screenshot capabilities to protect content. Always make sure you have the right to capture any screen content, especially when using third-party tools.
Throughout this guide, I’ve shared with you the essentials of how to snip on Mac – but there’s still plenty more to cover. Stay tuned as we delve into additional tips, tricks, and frequently asked questions that will make you a snipping expert on your Mac. Plus, remember to use your screenshot and recording capabilities responsibly and ethically, respecting copyright and privacy laws.
Customizing Screenshot Settings for Efficiency
Making your screenshot process efficient means tweaking some settings. Let’s take a look at how you can personalize your snipping experience on Mac:
- Shortcut Customization: Did you know you can change the default shortcuts? Head to System Preferences > Keyboard > Shortcuts > Screenshots to set your own.
- Preview and Delay: Want to set up your screen just right before taking the shot? Use the Timer feature in the Screenshot toolbar to delay the capture.
Organizing and Sharing Your Mac Snips Like a Pro
Once you’ve taken your screenshots, knowing what to do with them is key. Here’s how to keep everything organized and share your snips with ease:
- Organize Your Snips: Create a designated folder for screenshots to avoid cluttering your desktop. You can set this folder as the default save location.
- Sharing Made Simple: Use the share button in the screenshot preview or right-click the file on your desktop to share via email, messages, or social media.
FAQs on How to Snip on Mac
Q: Can I edit my screenshots on Mac?
A: Absolutely! Click the thumbnail that appears after taking a screenshot to access editing tools.
Q: What formats do Mac screenshots save in?
A: By default, screenshots are saved as .png files, but you can change this using Terminal commands or third-party apps.
Q: How can I take a screenshot of the Touch Bar?
A: Press Shift + Command + 6 to capture your Touch Bar’s display.
Remember, while the information here is quite comprehensive, it’s important to explore and practice to master how to snip on Mac fully. Feel free to bookmark this guide for easy reference and consider sharing it with friends or colleagues who might also benefit from these tips.

